 |
|
|
|
Page 3 of 4 - How to make "Birds on Branches" in Stained Glass

Click on the steps below to advance to the desired topic (there are 5 steps on each page):
To Page 1
Steps 1 - 5 Beginning with Step 1 "Lets get started!"
To Page 2
Steps 6 - 10 Beginning with Step 6 "Compressing the foil to the glass"
You are on Page 3 - Steps 11 thru 15
Step 11 - Tips on edge/perimeter beading
Step 12 - Creating edge quality . . . Each drop of solder added to the perimeter must be level
Step 13 - How to attach the Bluebird to the branch . . . fasten as an overlay, create a solder bridge
Step 14 - Nipping Pliers to Bend Wire for the Bluebirds Feet and Cleaning & Waxing to reduce Oxidation
Step 15 - Soldering the Front and the Back
To Page 4
Steps 16 - 20 Beginning with Step 16 "My set-up for applying the patina"
Step 11 - Tips on edge/perimeter beading |
|
|
 |
|
|
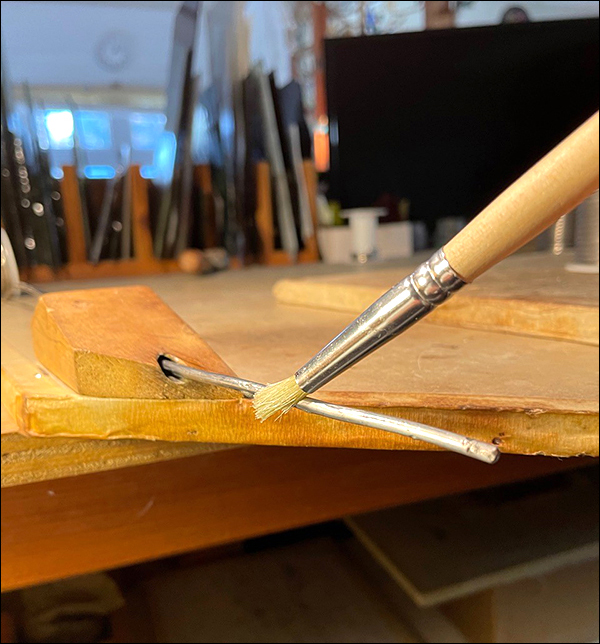
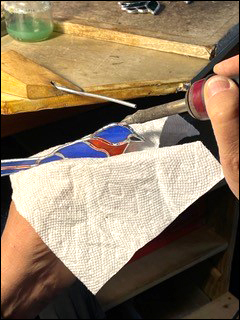
Edge, or perimeter beading is probably the most difficult soldering skill to do well. Here are a few tips to help you on your way to creating high, well rounded, and smooth perimeter soldering. First my opinion on fluxes, I dont like the fluxes with a watery consistency, they can cause hot solder to spatter tiny hot beads. The gel fluxes dont seem to give me as smooth of a finished bead, but they dont spatter the solder. My solution is to mix half gel flux and half watery flux, it just works well for me.
For perimeter beading set your iron control to about half power. The tip of your iron should always be shiny silver color, if it gets dark or blackish it is too hot, carbon will build up on the tip, solder wont stick to it.
In the photo above, in preparation for edge beading, I brush flux directly onto the solder wire. This helps the solder adhere to the tip of the iron when you carry for edge beading. When I discovered this technique it made a huge difference in the quality of my work, this trick of the trade is worth its weight in gold.
|
|
|

|
|
|
Step 12 - Creating edge quality . . . Each drop of solder added to the perimeter must be level |
|
|
  |
|
|
  |
|
|
  |
|
|
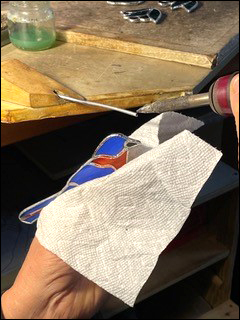
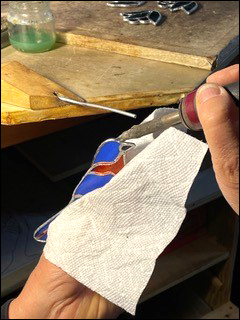
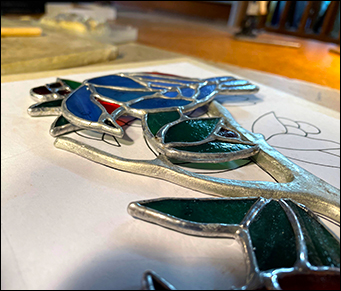
In these six photos notice how the Bluebirds head is ever so slightly rotated so that each drop of solder is placed level. The entire bird has to be rotated for each drop of solder added to the perimeter to be level. Yes, this takes some practice, you can not do quality edge beading with the bird lying flat on the table, that is just for tinning the foil.
|
|
|
|
|
|
Step 13 - How to attach the Bluebird to the branch . . . fasten as an overlay, create a solder bridge |
|
|
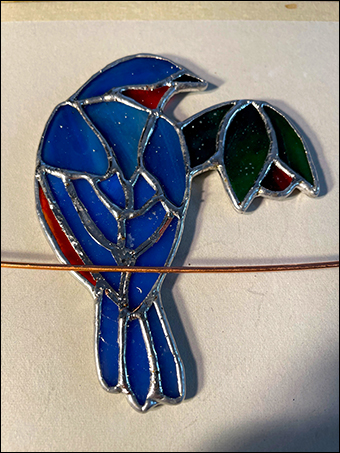
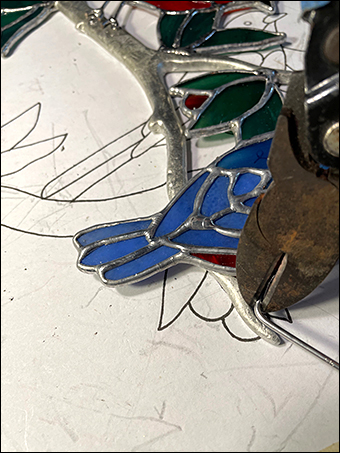
This is the back side of the Bluebird that is to be attached to the branch as an overlay.
The copper wire in the photo to your left shows the approximate area where the Bluebird will be attached as an overlay to the branch. I do not bead solder this area, I want the Bluebird to rest close to the branch. I bead solder up to the branch later. |
|
|
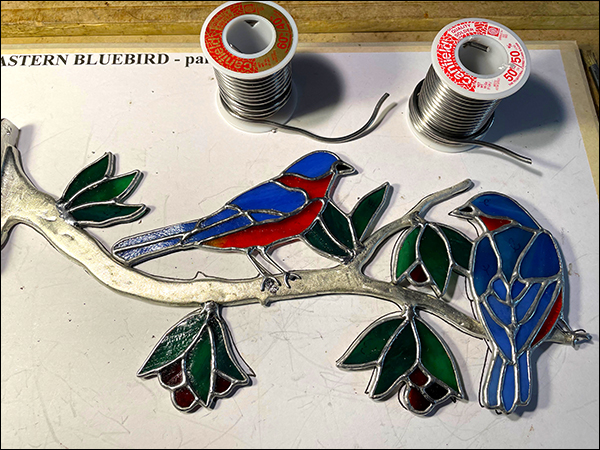
At this point I have finished soldering the front and back of the Bluebird project.
The Bluebird resting on the branch is to be fastened as an overlay. There is a little bit of a solder bridge that must be created from the leaves to the branch. I connect the solder bridge while the project is lying down, I finish it off, making the joint look neat while holding it upright. |
|
|
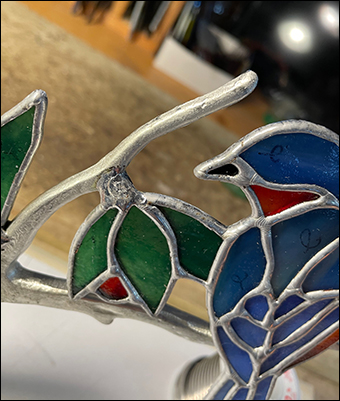
The photo to your left shows a strong solder bridge. This bridge is necessary because of the overlay, the bird resting on the branch instead of level with it. |
|
|
|
|
|
Step 14 - Nipping Pliers to Bend Wire for the Bluebirds Feet and Cleaning & Waxing to reduce Oxidation |
|
|
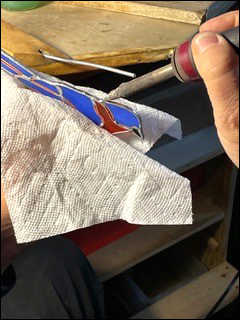
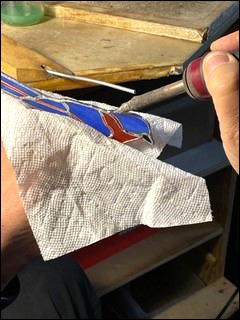
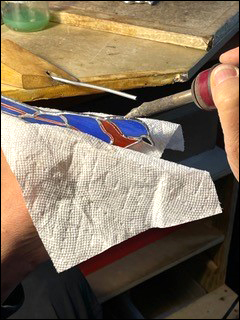
 I use nipping pliers to bend the wire for the birds feet, and to cut the wire. Nippers give me better control bending the wire because of its narrow jaw. Be careful not to cut the wire prematurely in the process of bending. |
|
|
 In the lower leaf cluster, where the leaves are attached to the branch, you can see a cavity. I fill in the cavity the best I can with solder. It is in the cavity where residual flux remains, even after washing. Residual flux promotes oxidation. Newly created stained glass pieces will sometimes show sighs of oxidation for several months after their creation. The oxidation will appear as a white powder or mold like substance in the nooks and crannies of the solder seams. This is a natural occurrence while the residual fluxes used to create the item ages and neutralizes.
To remove the oxidation spray furniture wax (I use lemon pledge) on the stained glass item and wipe clean with a dusting cloth. Periodic cleaning and waxing will keep your stained glass looking brand new. In time, with a couple coats of glass wax, oxidation will be less of a problem. |
|
|
|
|
|
Step 15 - Soldering the Front and the Back |
|
|
 |
|
|
Soldering is done on the front side (above).
|
|
|
 |
|
|
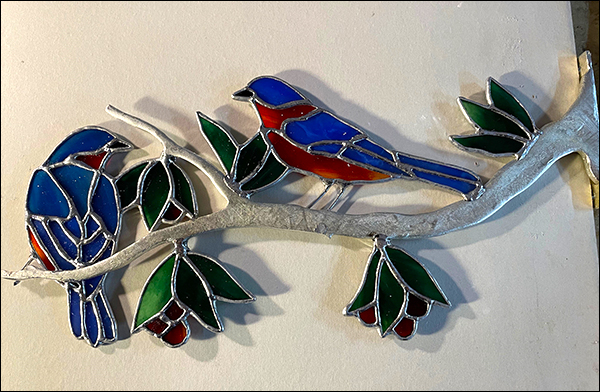
Back side is done (above). It is difficult to see that every solder seam where the branch meets the overlay Bluebird has been connected to the bird.
Notice the bird on the right, the tail feathers have been soldered to the branch, but only on the back side. I just think it looks better that way. |
|
|
|
|


